
Crafting the perfect, restaurant-style meal at home doesn’t have to be daunting. This Easy Crunchwrap Supreme guide delivers a crispy, cheesy, and intensely satisfying low-carb alternative that rivals any fast-food favorite. It’s a versatile recipe designed for busy weeknights, keto enthusiasts, or anyone craving a hearty, flavorful wrap without the guilt.
With simple swaps and a foolproof assembly method, you’ll achieve golden-brown perfection every time, packed with robust taco-seasoned meat and melted cheese in every bite.
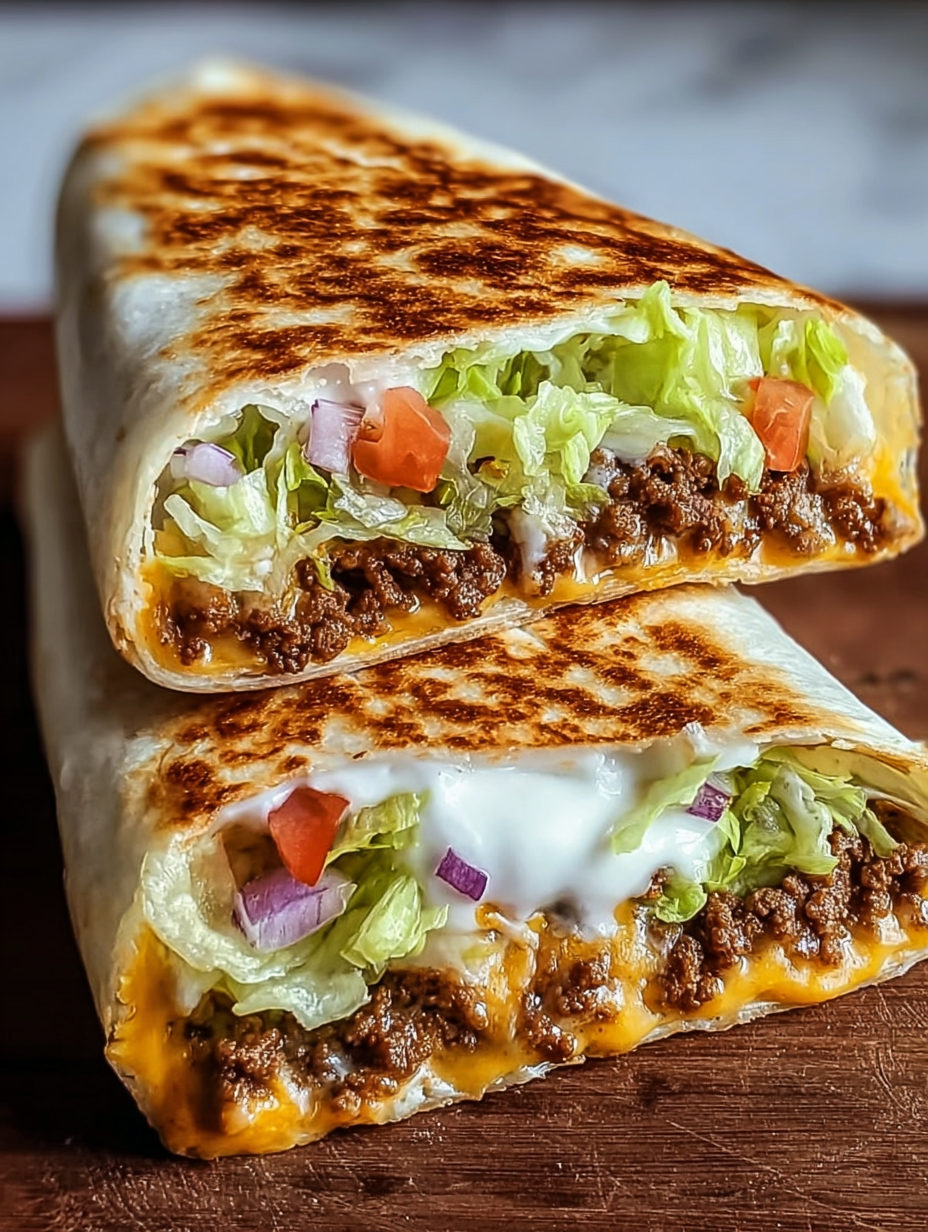
Why You’ll Love This Homemade Crunchwrap
This recipe transforms a popular indulgence into a balanced, high-protein meal you can feel great about. The magic lies in its perfect texture contrast—a crispy low-carb tortilla exterior wrapped around a warm, savory, and cheesy interior. It’s fully customizable to your dietary needs, using lean proteins and smart ingredient alternatives without compromising on that iconic ‘crunch.
‘ Beyond taste, it’s remarkably efficient, requiring just 30 minutes from start to finish, making it an ideal solution for meal prep or a family dinner that pleases everyone.
Ingredient Flexibility for Every Diet
The core of this recipe is adaptability. Whether you’re managing carbs, avoiding dairy, or boosting protein, each component has a simple swap. The creamy sauce base, for instance, can be made with dairy-free cream cheese and coconut cream, while the ground beef easily trades for ground chicken or turkey.
This flexibility ensures your Crunchwrap is always tailored to your nutritional goals and taste preferences, proving that healthy eating never has to be boring.
Crispy Texture, Every Single Time
The signature crunch is non-negotiable. We achieve it through a specific toasting technique with the tortillas and a strategic layering method during assembly that creates a sturdy, self-contained package. This technique prevents sogginess and ensures each bite delivers that satisfying crispy contrast against the warm, melted fillings.
It’s a simple trick that elevates the entire experience from a simple wrap to a gourmet-quality meal.
Essential Ingredients & Thoughtful Substitutions
Gathering your ingredients is the first step to success. Each one plays a specific role in flavor, texture, and nutrition. We prioritize wholesome alternatives to create a balanced macro profile, focusing on high protein and fiber while keeping net carbs in check.
- Protein Base: 1 pound lean ground beef (or ground chicken/turkey). Provides the savory, hearty foundation and primary source of protein.
- Creamy Cheese Sauce: 4 ounces cream cheese (dairy-free option available), 1/4 cup coconut cream, 1 cup shredded sharp cheddar. Creates the rich, melty, cohesive binder for the filling.
- Flavor Builders: 2 tablespoons homemade taco seasoning (control sodium!), 1/4 cup finely chopped cilantro or parsley, 1/2 cup jalapeño slices (optional).
- Fresh Toppings: 1 cup shredded crisp lettuce, 1 medium diced tomato (or bell pepper), 1 cup sour cream or plain Greek yogurt. Added fresh after cooking for bright contrast.
- The Crispy Vessel: 4 large low-carb tortillas (like Mission Carb Balance or almond flour brands).
- Cooking Fat: 1 tablespoon olive oil and 2 tablespoons unsalted butter. Used for sautéing and crisping.
Step-by-Step Cooking Instructions
Follow these detailed steps for a flawless Crunchwrap assembly and cook. The process is broken down into logical stages to keep your kitchen organized and your results consistent.
Stage 1: Prepare the Creamy Cheese Filling
In a medium saucepan over low heat, melt the unsalted butter. Add the cream cheese and coconut cream, whisking continuously until the mixture is completely smooth and integrated. Gradually stir in the shredded sharp cheddar cheese until it melts into a velvety sauce.
Remove from heat and set aside. This sauce is the glue that holds your filling together, so ensure it’s smooth.
Stage 2: Cook and Season the Protein
Heat olive oil in a large skillet over medium-high heat. Add the ground beef, breaking it apart with a spatula. Cook until thoroughly browned and no pink remains. Drain any excess fat if using higher-fat beef. Reduce heat to medium, add the taco seasoning and 2 tablespoons of water, stirring to coat the meat evenly.
Cook for another 2-3 minutes until fragrant. Mix the seasoned meat into the prepared cheese sauce until fully combined.
Stage 3: Crisp the Tortilla Base
Place a large non-stick skillet or griddle over medium heat. Lightly toast one side of each low-carb tortilla for about 60-90 seconds, just until it becomes pliable and slightly firm. This pre-toasting step is crucial for preventing tearing during assembly and contributes to the final crispy texture. Lay the tortillas toasted-side down on your work surface.
Stage 4: Master the Crunchwrap Assembly
This folding technique is key. Spoon a generous portion of the meat and cheese mixture onto the center of each toasted tortilla. Spread it out evenly, leaving a 2-inch border clean around the edge. Top the meat mixture with a sprinkle of the extra cheddar cheese (and pepper jack if using).
Carefully fold the clean border of the tortilla up and over the filling, pleating it as you go to create a sealed, hexagonal packet. The filling acts as a weight to hold the folds in place.
Stage 5: Cook to Golden Perfection
Carefully place each assembled Crunchwrap, folded-side down, in a clean non-stick skillet over medium heat. You may need to work in batches. Cook for 3-4 minutes until the bottom is deeply golden brown and crisp.
Using a wide spatula, gently flip and cook the other side for another 3-4 minutes. Apply light pressure with the spatula to ensure even contact and browning.
Stage 6: Serve with Fresh Toppings
Immediately transfer the cooked Crunchwraps to a plate. Cut in half if desired. Top with a dollop of sour cream or Greek yogurt, shredded lettuce, diced tomato (or bell peppers), jalapeño slices, and fresh cilantro. Serve hot for the ultimate textural experience of crispy, creamy, cool, and crunchy all in one bite.
Nutritional Benefits & Dietary Information
This homemade Crunchwrap is designed with nutritional balance in mind. By choosing lean protein, high-fiber low-carb tortillas, and fresh vegetables, you create a meal that is both indulgent and nourishing.
| Nutrient | Amount Per Serving |
|---|---|
| Calories | 350 kcal |
| Total Fat | 25g |
| Protein | 25g |
| Total Carbohydrates | 15g |
| Dietary Fiber | 5g |
| Net Carbs | 10g |
| Sugars | 3g |
| Sodium | 600mg |
The high protein and fiber content promote satiety, helping you feel full longer and supporting muscle maintenance. The moderate fat content comes primarily from the cheese and cooking oils, providing sustained energy. Using a homemade, low-sodium taco seasoning significantly controls the sodium level compared to store-bought packets or restaurant versions.
Expert Tips for the Best Results
- Tortilla Choice is Key: Use large, burrito-sized low-carb tortillas for easier folding. Warm them slightly if they are stiff from the fridge.
- Don’t Overfill: While tempting, overfilling is the main cause of breaks during folding or cooking. A generous but contained portion ensures a secure seal.
- Press While Cooking: Gently pressing down with your spatula during the final cook ensures maximum surface contact for an even, all-over crispy shell.
- Make Ahead Friendly: You can prepare the filling and store it in the refrigerator for up to 3 days. Assemble and cook just before serving for the best texture.
- Air Fryer Alternative: For an even crispier finish with less oil, cook assembled Crunchwraps in a preheated air fryer at 375°F (190°C) for 6-8 minutes, flipping halfway through.
Common Questions Answered
Can I make this recipe dairy-free?
Absolutely. Use a high-quality dairy-free cream cheese alternative, a vegan cheddar shred, and coconut cream in the sauce. Top with a dairy-free yogurt or avocado crema instead of sour cream.
How do I store and reheat leftovers?
Store any assembled but uncooked Crunchwraps in the fridge for up to 24 hours before cooking. To reheat a cooked Crunchwrap, use an air fryer or toaster oven at 350°F until re-crisped. The microwave will make the tortilla soft.
What other fillings can I use?
This method is incredibly versatile. Try fillings like seasoned ground chicken with pepper jack, a vegetarian mix of black beans and roasted vegetables, or shredded chicken with a green chili sauce.
In conclusion, this Easy Crunchwrap Supreme recipe proves that you can enjoy bold, comforting flavors in a healthier, homemade format. With its perfect crispy-cheesy texture, high-protein profile, and complete customizability, it’s a meal that will become a regular in your recipe rotation.
By taking control of the ingredients, you create a dish that’s not only delicious but also aligns with your wellness goals. Give it a try tonight and experience the satisfaction of a fast-food style triumph, made better in your own kitchen.
The Recipe
Print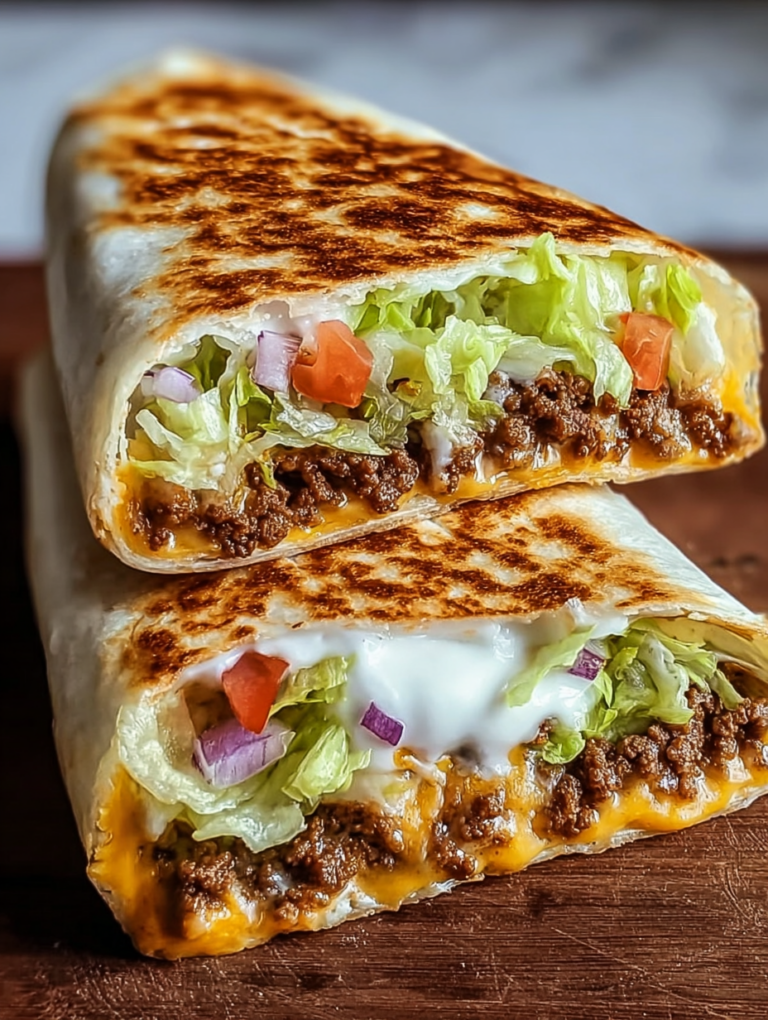
Easy Crunchwrap Supreme (Crispy & Cheesy)
A crispy, golden-brown low-carb wrap stuffed with seasoned meat and melted cheese, topped with fresh veggies for the ultimate homemade fast-food style meal.
- Total Time: 30 min
- Yield: 4 servings 1x
Ingredients
2 tablespoons Unsalted Butter
4 ounces Cream Cheese (dairy-free alternative)
1/4 cup Coconut Cream
1 cup Shredded Sharp Cheddar Cheese
1 pound Lean Ground Beef
2 tablespoons Homemade Taco Seasoning
4 large Low-Carb Tortillas
1 cup Sour Cream or Greek Yogurt
1 cup Shredded Lettuce
1 medium Tomato or Bell Pepper
1/2 cup Jalapeño Slices (optional)
1 tablespoon Olive Oil
1/4 cup Fresh Cilantro or Parsley
Instructions
- Melt butter, then whisk with cream cheese and coconut cream until smooth. Stir in cheddar to make a cheese sauce. Set aside.
- Cook ground beef in olive oil until browned. Drain fat, add taco seasoning and water, and cook 2-3 minutes. Mix into cheese sauce.
- Lightly toast one side of each tortilla in a dry skillet until pliable.
- Spoon filling onto center of toasted tortilla. Top with extra cheese. Fold edges up and over to create a sealed packet.
- Cook folded-side down in a skillet over medium heat for 3-4 mins per side, until golden and crisp.
- Top with sour cream, lettuce, tomato, jalapeños, and cilantro. Serve immediately.
Notes
- Use large tortillas for easier folding. Do not overfill. Press gently while cooking for even crispness. Filling can be made 3 days ahead. Reheat in an air fryer to maintain crispness.
- Prep Time: 10 min
- Cook Time: 20 min
- Category: Main Course
- Method: Stovetop
- Cuisine: Mexican-Inspired
- Diet: Gluten-Free, Low-Carb, Keto-Friendly
Nutrition
- Serving Size: 1 crunchwrap
- Calories: 350 kcal
- Sugar: 3 g
- Sodium: 600 mg
- Fat: 25 g
- Saturated Fat: 12 g
- Unsaturated Fat: 10 g
- Trans Fat: 0 g
- Carbohydrates: 15 g
- Fiber: 5 g
- Protein: 25 g
- Cholesterol: 95 mg